Many PDFs were designed for screens, not printers. A workbook may use dark chapter banners, an invoice may include a tinted scan, and a handout may devote half a page to a photo. All of that looks polished online—and can consume far more ink or toner than the information itself requires.
The best print-friendly workflow is selective. Preserve the content people need, remove ink-heavy decoration, and check the result before printing the whole document.
Where the ink usually goes
Start by looking for four common sources of unnecessary page coverage:
- Dark banners and colored boxes. White words on a dark fill are especially expensive to print.
- Large photos and cover art. These may be useful on screen but optional in a working copy.
- Gray or yellow scanned paper. The printer treats discoloration as page content.
- Decorative backgrounds. Textures, gradients, and full-page color can affect every printed sheet.
A seven-step ink-saving workflow
1. Keep the original file
Create a separate print copy. Forms, links, selectable text, and accessibility features may be important in the original even if the print version is flattened.
2. Review several representative pages
Do not judge a 50-page document by its cover. Check an ordinary text page, a photo-heavy page, a worksheet, and any page with faint notes or diagrams.
3. Lighten dark panels
A good panel-lightening tool detects large, mostly solid rectangles, turns their fills white, and converts the lettering inside to readable dark text. This is safer than globally inverting a page, which can make normal content look strange.
4. Decide whether large images belong in the print copy
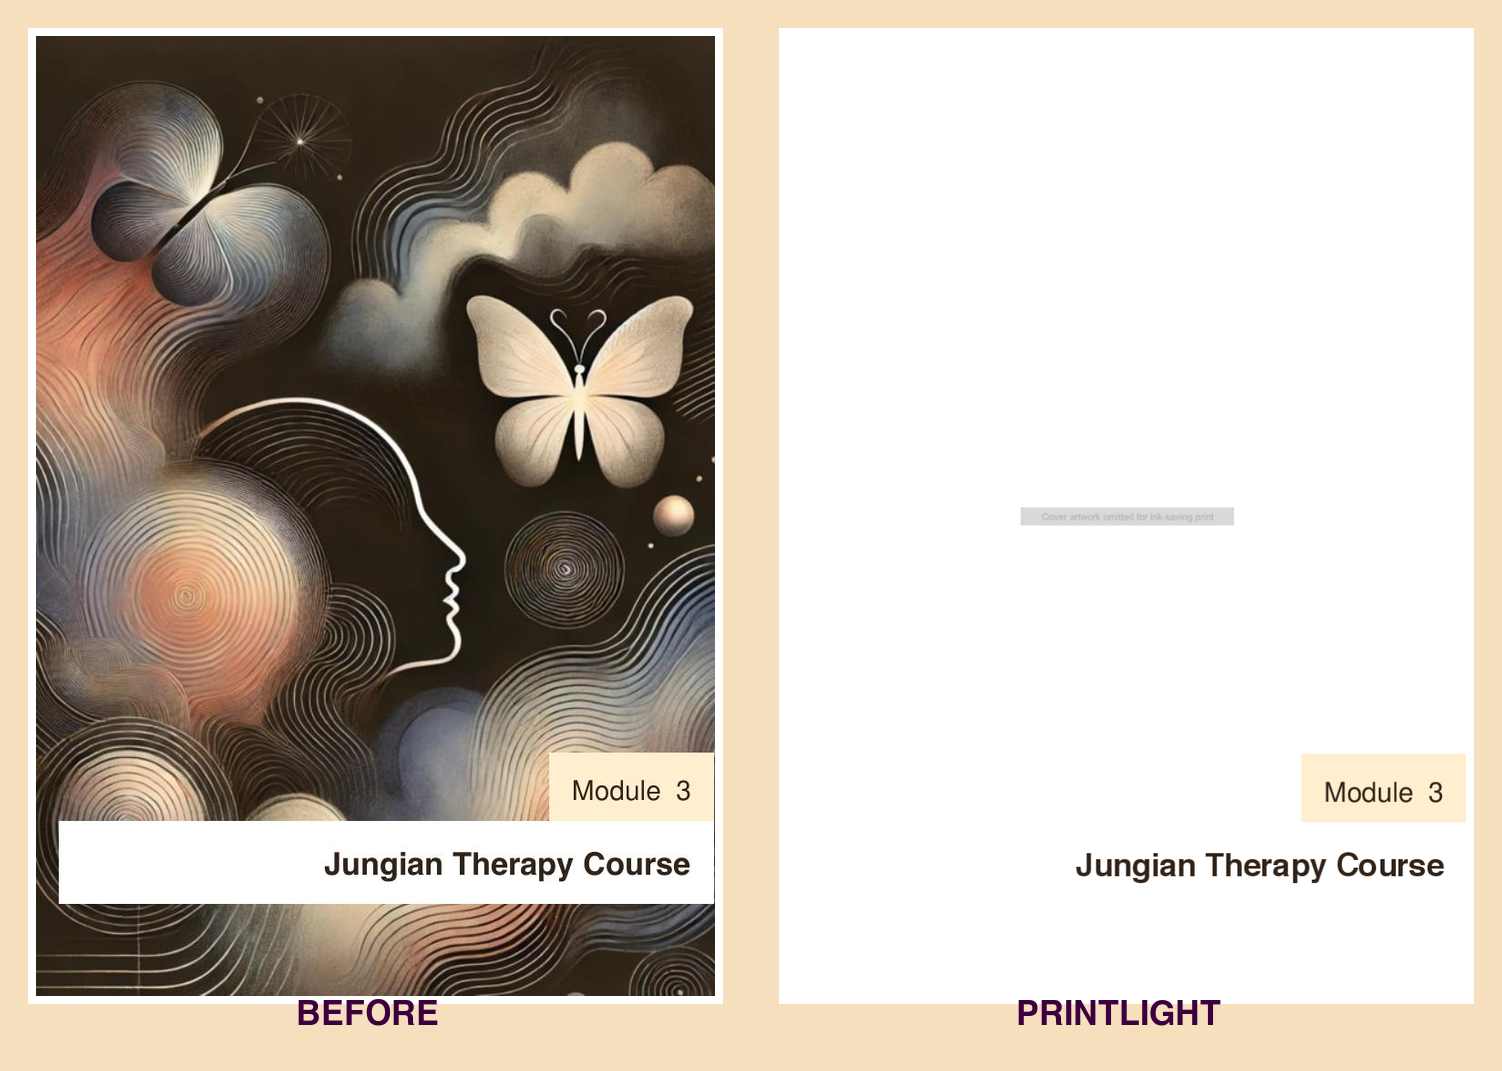
For a workbook or meeting packet, an illustration may be optional. A light outline can show where the image appeared without spending ink on it. Keep diagrams, charts, maps, and evidence photos when they carry essential meaning.
5. Whiten scanned paper gradually
If the background is gray or yellow, raise the paper-whitening level until it becomes white. Start low. Faint pencil notes and pale rules can resemble background noise, so inspect them before using an aggressive setting.
For a deeper explanation, see how to make a scanned PDF background white without losing the text.
6. Choose a practical output quality
Higher resolution can help fine print and thin lines, but it also creates larger files and takes longer to process. For everyday workbooks and handouts, a moderate quality setting is usually enough. Increase it only when small text looks soft.
7. Print one test page
Screen previews are useful, but printers differ. A single test page confirms that thin lines remain visible and that the document is actually using less page coverage.
What should never be removed automatically?
Automatic cleanup should be conservative around signatures, annotations, shaded table cells, musical notation, medical or legal markings, and diagrams whose colors communicate meaning. When preservation matters more than toner, choose the lower setting.
The right goal is not a blank-looking page. It is a readable working copy with unnecessary ink removed.
Batch processing saves more than ink
If you regularly print course packets, client files, invoices, or meeting materials, repeating the same cleanup one page at a time quickly becomes the bigger cost. Batch processing lets you apply a consistent setting to several PDFs while still previewing pages from every document.
Use PrintLight for the repetitive part
PrintLight PDF combines the main steps in one browser-based workflow:
- upload and process multiple PDFs together;
- preview any page from any uploaded document;
- lighten dark and colored panels;
- omit large raster images with a subtle outline;
- whiten gray or yellow scanned backgrounds;
- download the finished print copy automatically.
The default settings favor preservation, and the advanced controls let you adjust the document rather than forcing every PDF through the same filter.
Prepare a print-friendly PDF with PrintLight →
Quick checklist
- Keep the original.
- Preview more than one page.
- Remove decoration, not information.
- Use aggressive whitening only for difficult scans.
- Print one test page before committing to the batch.
Small decisions across twenty or fifty pages can make a much larger difference than changing the printer’s quality setting alone.